Clickiny allows you to personalize email notifications by dynamically inserting form field values into the email subject and content. This feature is useful for customizing confirmation emails, adding respondent names, order details, or any submitted information.
How to Insert Form Fields in Emails
- Open the Form Builder and go to Settings.
- Click the Emails tab.
- In the Email Subject or Email Content field, you can insert form field values using placeholders.
Referencing Form Fields
{{field_1}} – This represents the first field in your form.{{field_2}} – This represents the second field, and so on.
Using the Field Selection Dropdown
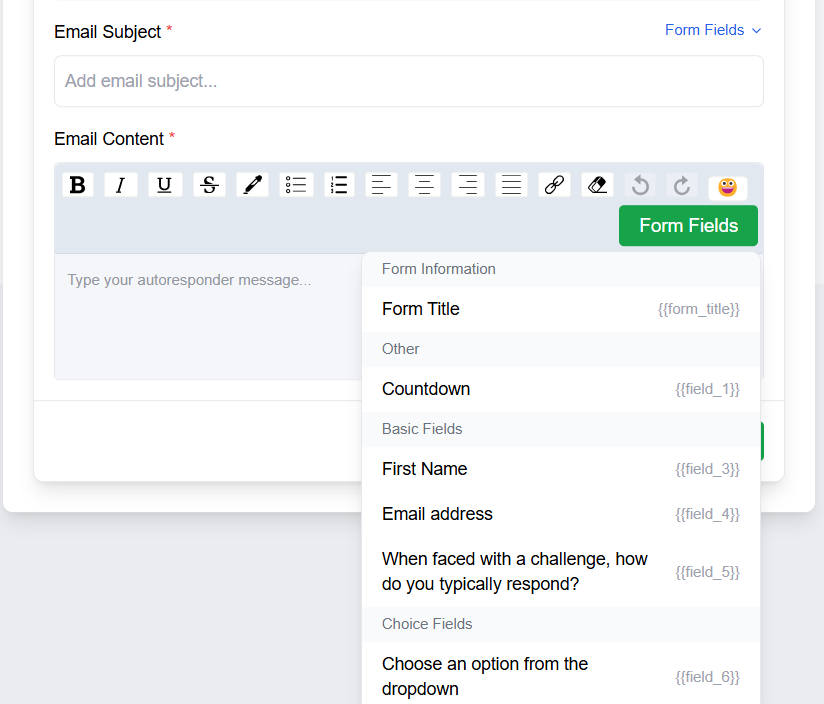
To make this easier, Clickiny provides a dropdown button (Form Fields) next to the Subject and Content fields:
- Click the dropdown.
- Select the form field you want to use.
- It will be automatically inserted into your email.

Default Form Field: Form Title
By default, every form includes a special field:{{form_title}} – This inserts the name of your form.
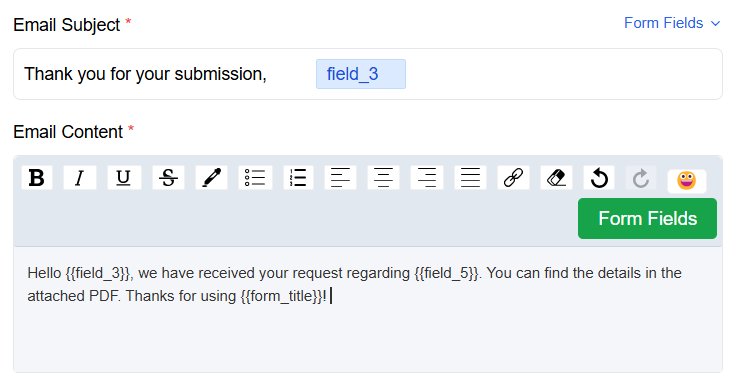
Example Usage

With this feature, you can create personalized and dynamic emails that enhance the user experience.
Was this article helpful?