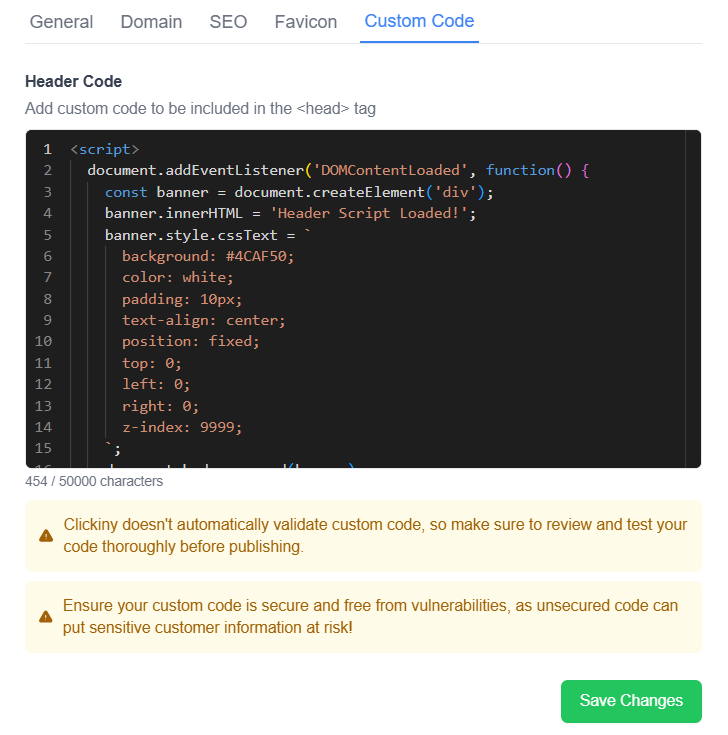
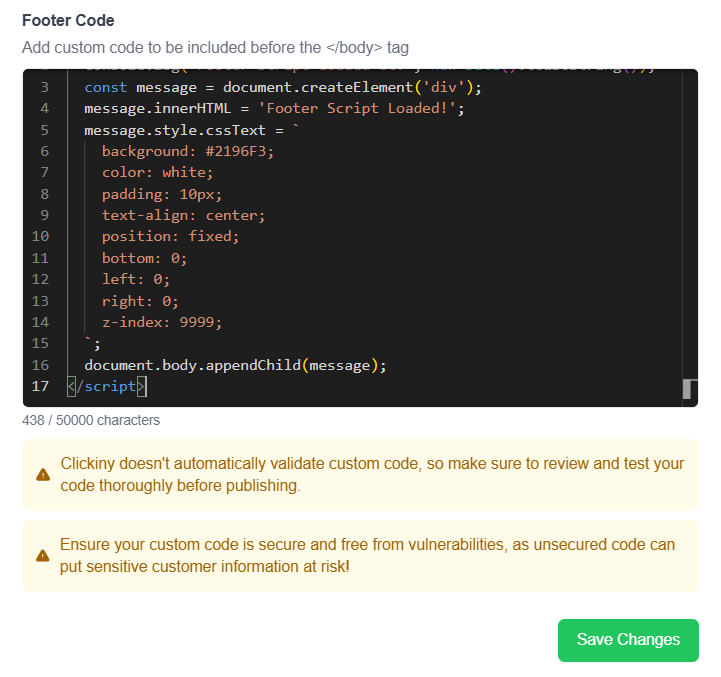
With Clickiny, you can enhance your forms by adding custom HTML, CSS, or JavaScript. This feature allows you to include tracking scripts, unique styling, or custom functionality directly into your forms.
Where to Find Custom Code Settings
To add custom code:
- Open your form in the Form Builder.
- Go to the Settings tab.
- Navigate to the Custom Code section.
- You’ll see two fields: Header Code and Footer Code.
Adding Code
Header Code: Code entered here will appear before the closing </head> tag in the form’s HTML. Ideal for metadata, external styles, or JavaScript libraries.

Footer Code: Code entered here will appear before the closing </body> tag. This is perfect for scripts that need to load after the content.

Supported Code
- HTML: Include additional elements or meta tags.
- CSS: Add styles using
<style>tags. - JavaScript: Use
<script>tags to include or write custom scripts
⚠️ Note: Server-side languages (e.g., PHP, Python, Ruby) are not supported in the Custom Code fields.
Guidelines for Custom Code
Custom Domains Only:
- Custom code will only display on forms embedded on custom domains. It will not be applied if the form is shared via a public URL or other display options (e.g., iframe or widget).
Character Limit:
- Both Header and Footer sections allow up to 50,000 characters. If your code exceeds this limit, consider hosting the script externally and referencing it using a
<script>tag.
Avoid Tags That Break Forms:
- Do not include
<html>,<body>, or<head>tags, as they can disrupt the form layout. - Ensure all opening and closing tags are present and correctly formatted.
Performance Considerations:
- Scripts in the Header may affect loading speed. Use attributes like
asyncordeferfor JavaScript to improve performance.
Example Use Cases
- Google Analytics: Add tracking code in the Footer section to monitor form submissions.
- Custom Styles: Use CSS in the Header section to align the form design with your brand.
- Third-Party Widgets: Embed external widgets (e.g., chat or calendar tools) by adding their scripts.
Why can’t I see my custom code changes in preview?
Custom code will only take effect once the form is published.
What if my code is too long?
Host it externally on a server, then reference it using a <script> tag.
Why is my form not working after adding custom code?
Double-check for syntax errors or unsupported tags like <html> or <body>.
Adding custom code through the Form Builder’s Settings – Custom Code tab lets you create tailored solutions for your forms, giving you full control over their design and functionality.