Create a WhatsApp Chat WIdget with the following steps:
1. Go to Clickiny App and Create an account if you do not have an account, but you have already signed up then click on sign in.
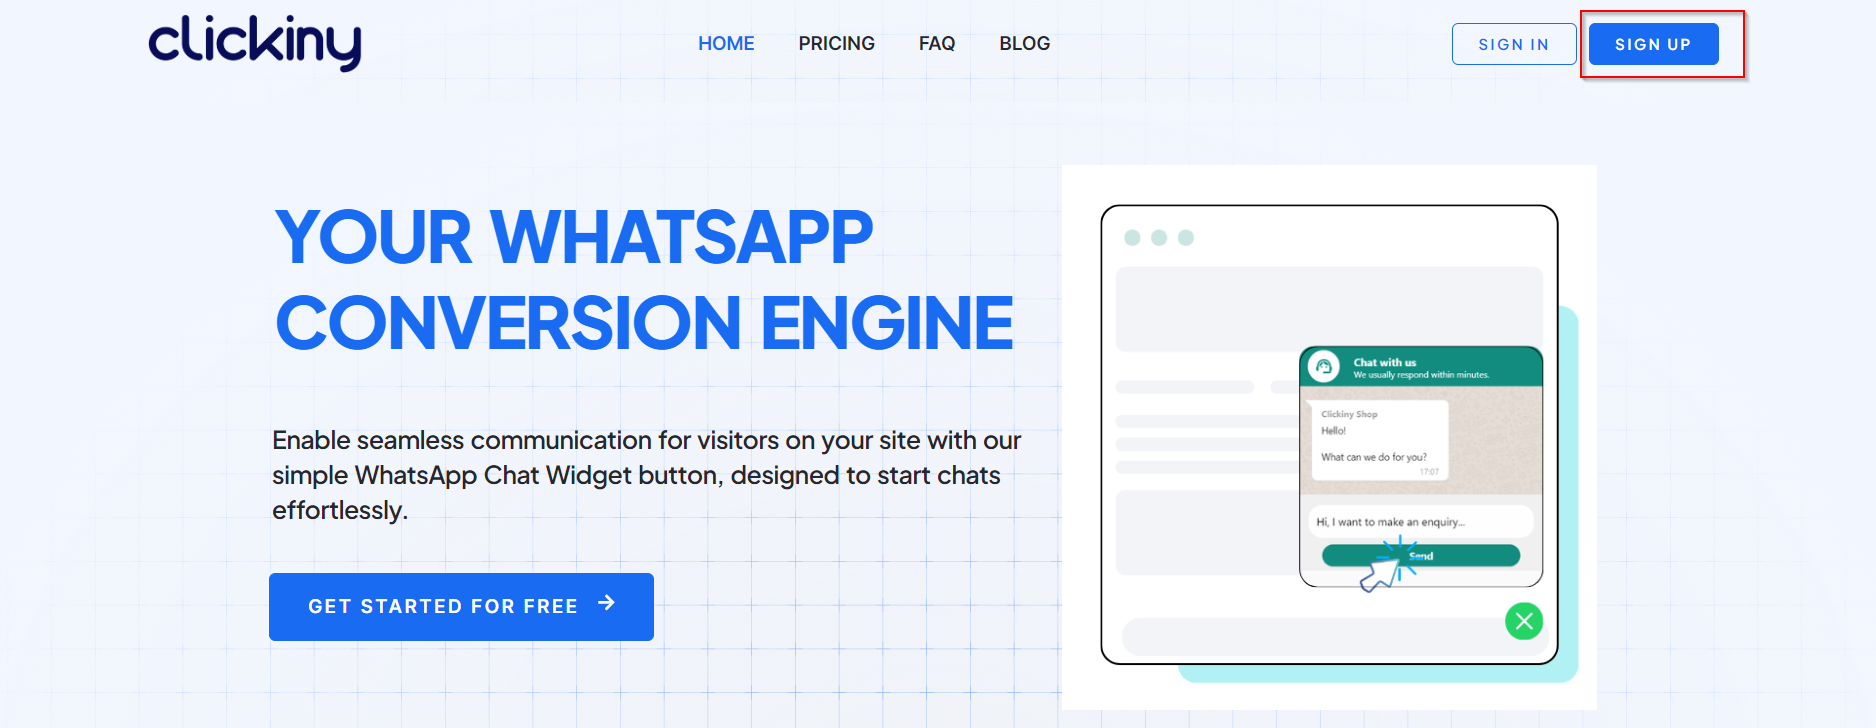
2. Once you login, click on the “Create New” button on the dashboard

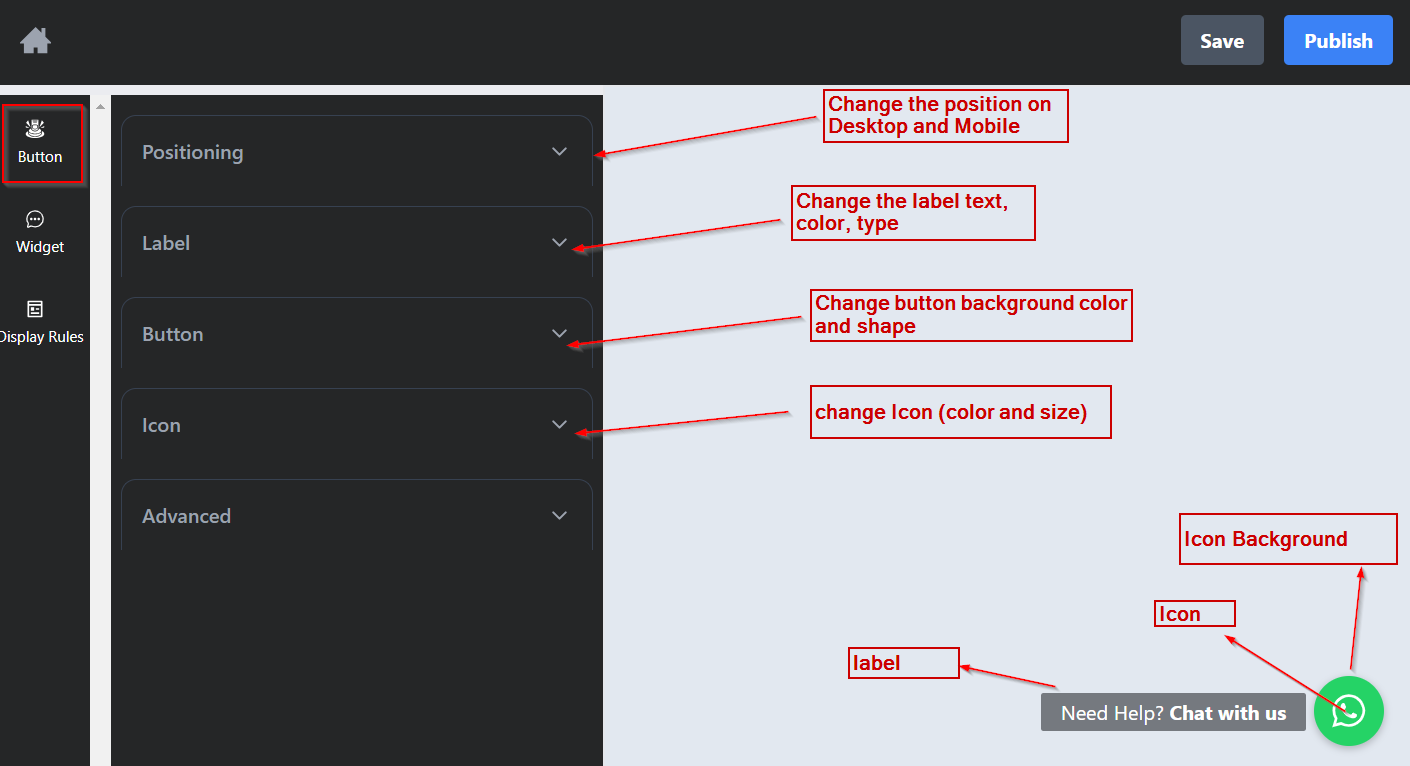
3. In the Editor, you’ll have different customization options, which we’ll touch on below.
In the “Button” section you can change the position, label and feel of the button.
- Change the position on Desktop and Mobile
- Change the label text, color, type
- Change the button Icon, shape and colors.
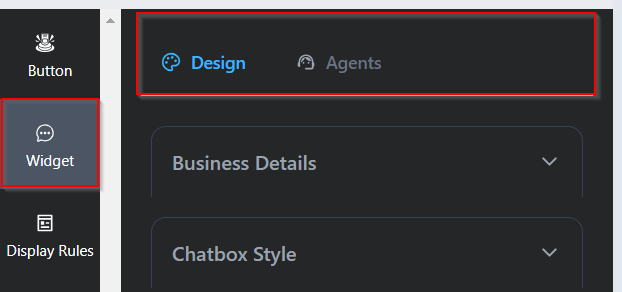
4. On the Widget section, you’ll see two tabs – Design and Agents.
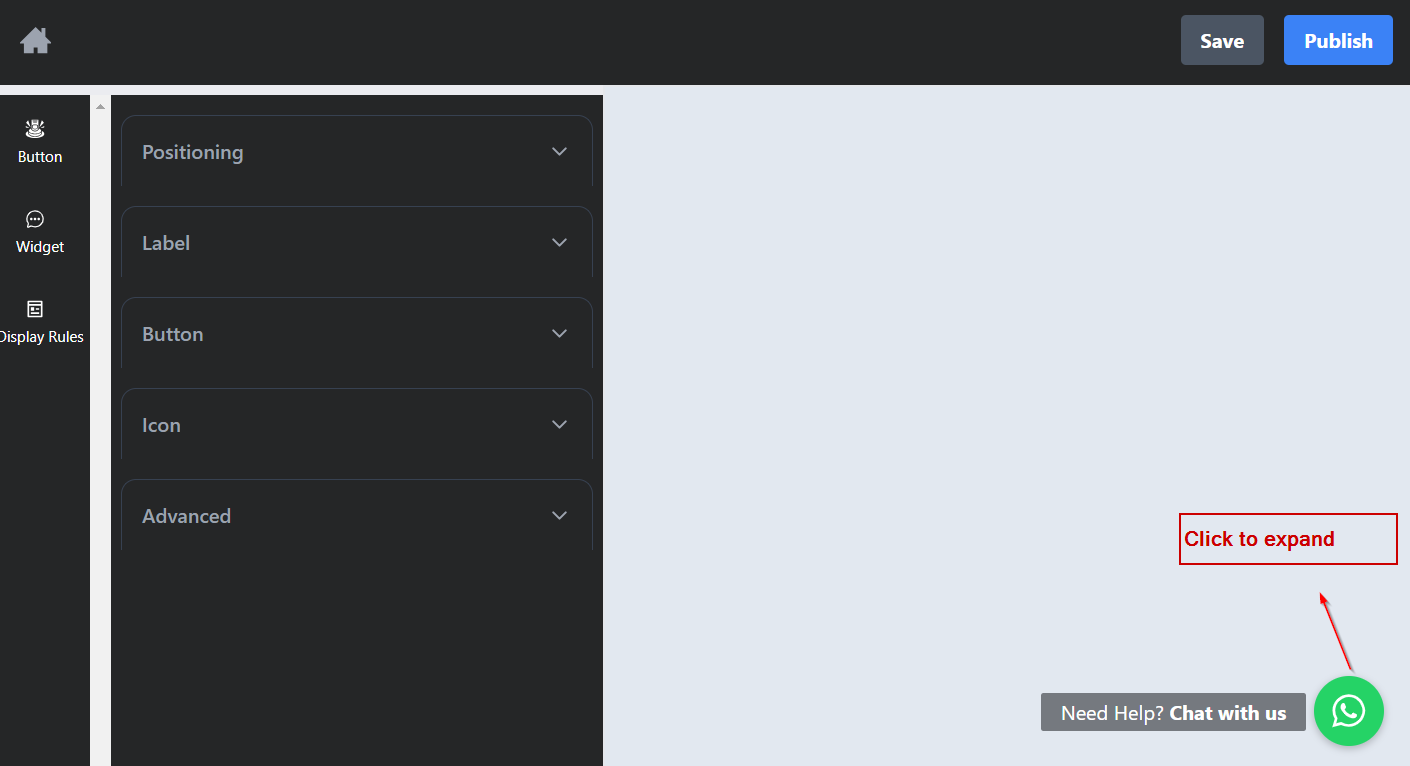
At this stage of the customization you can click on the button to expand the widget.
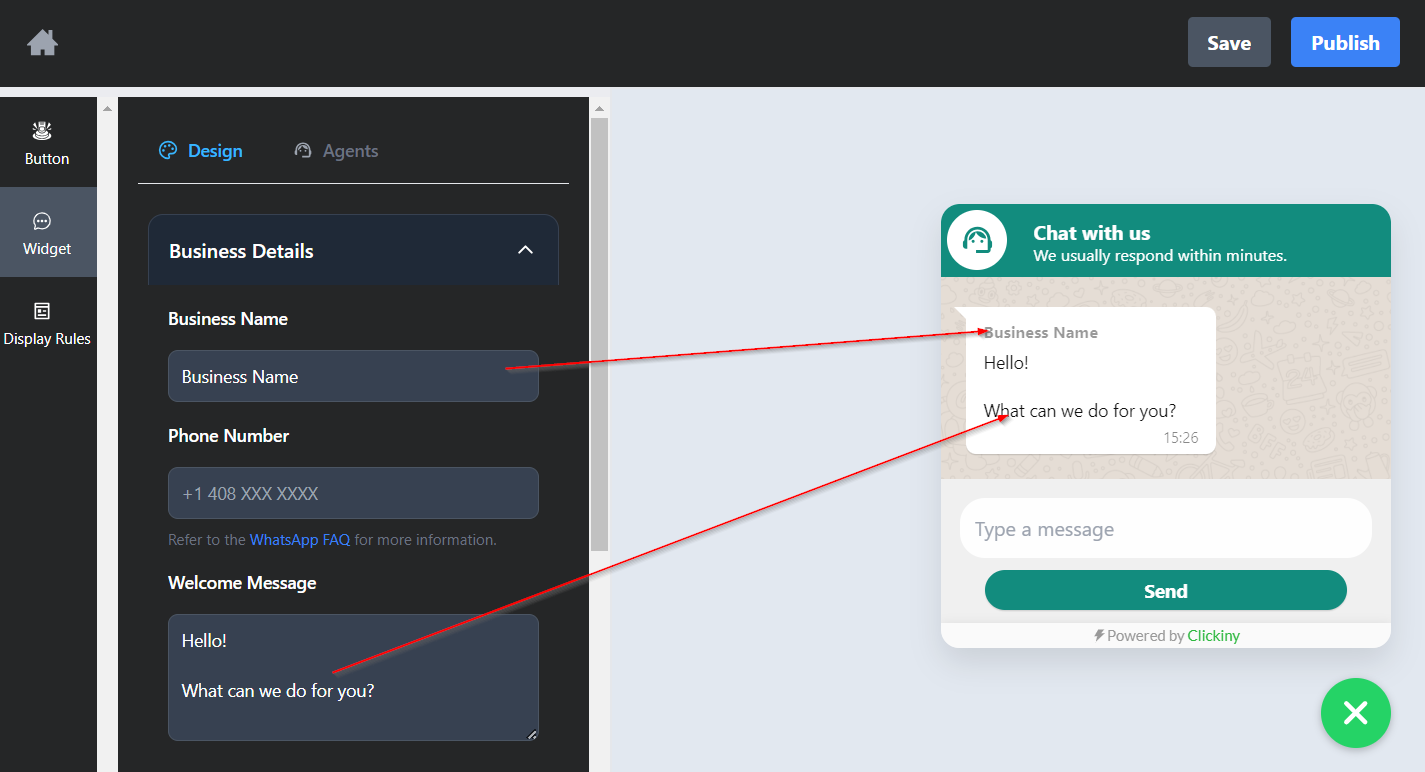
5. Under the “Business Details” tab, edit your business name, phone number for the chat, and the welcome message the user will see when they open the widget.
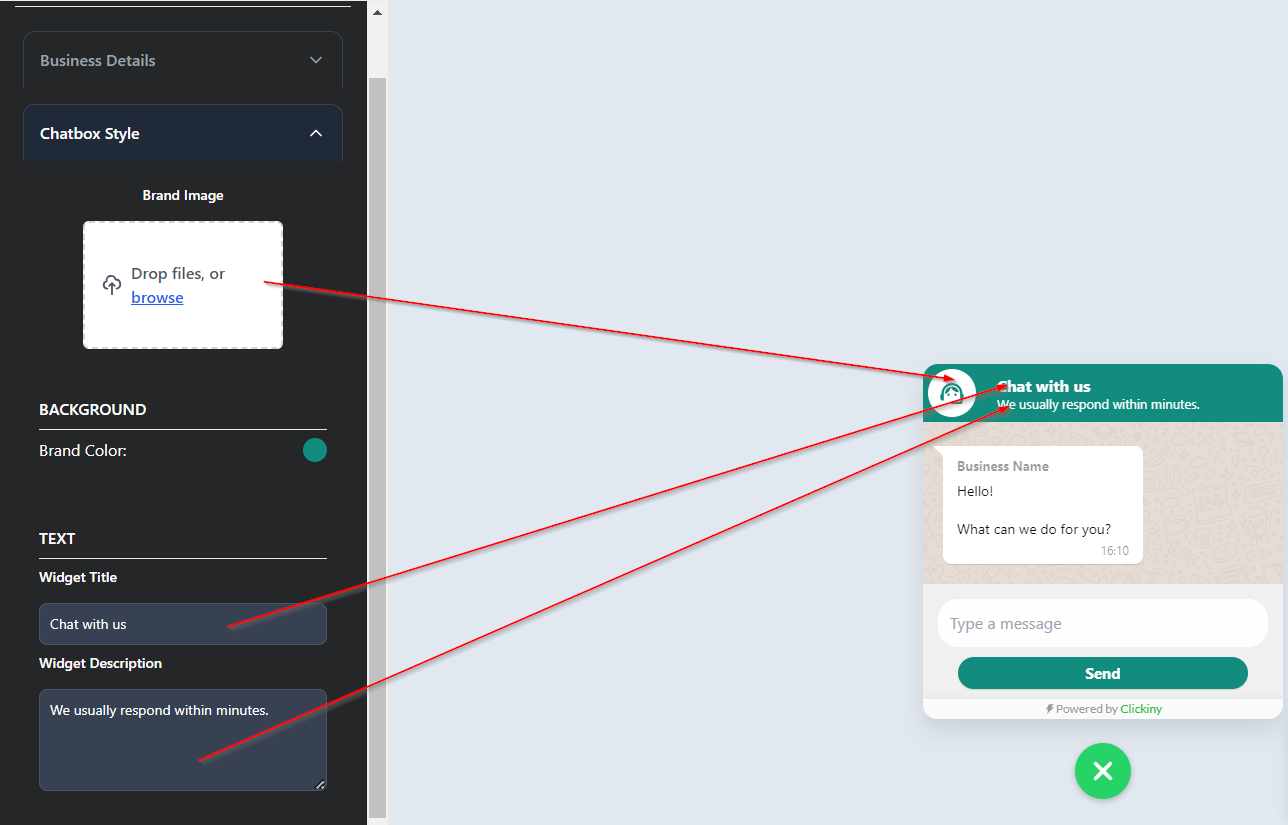
6. The “Chatbox Style” tab allows you to customize:
- Add your brand logo for the chat box
- Brand color widget
- Widget title and description
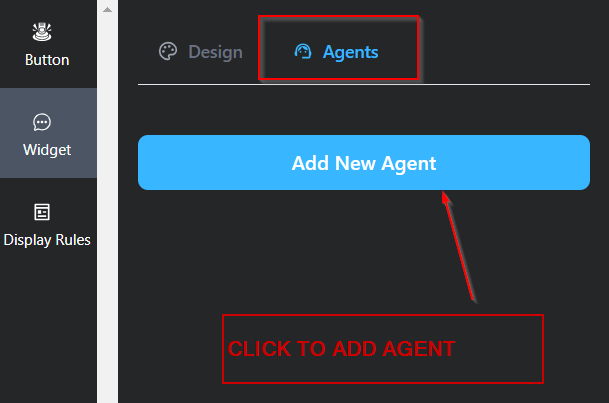
7. In the scenario where you have multiple agents to handle support, you can add agents by going to the “Agents” tab under “Widget” section and click the “Add New Agent” button to add an agent.
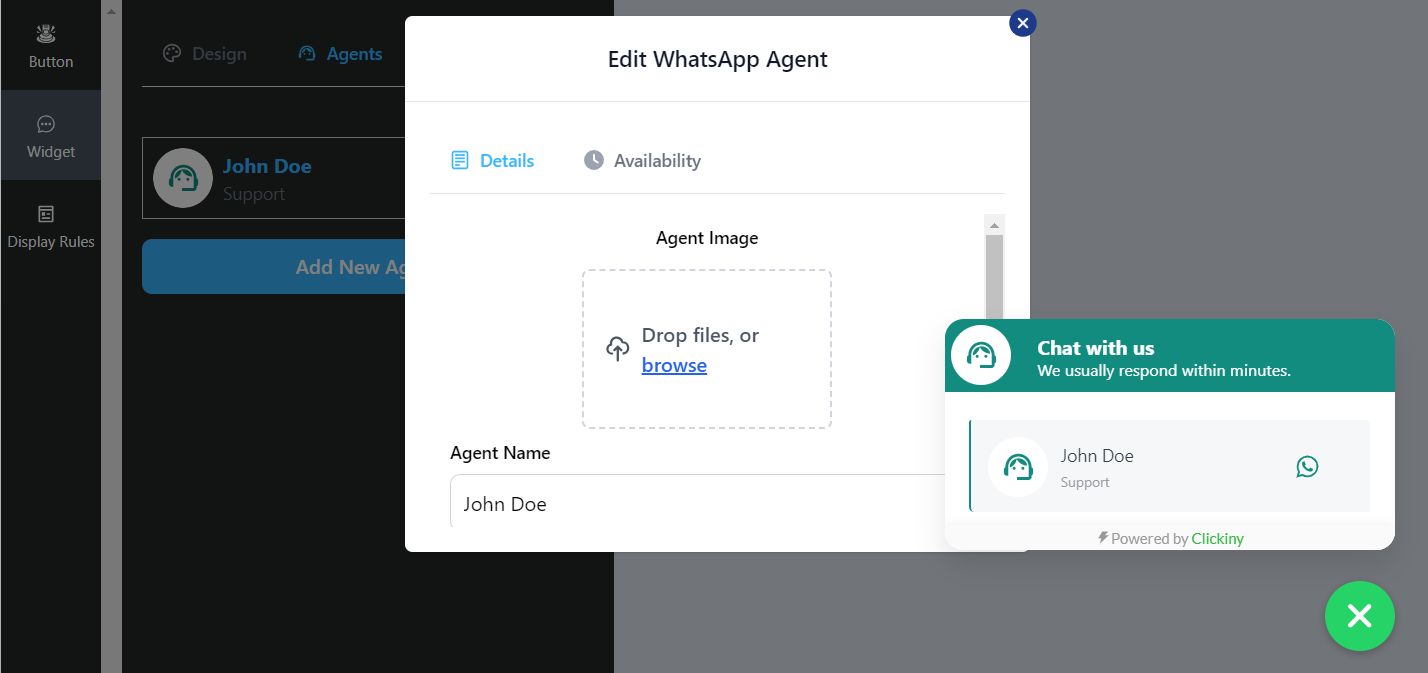
Customize the details of the agent: agent image, name, role and phone number. You can also add the availability of the agent.
NOTE: the display of the widget will change when you start adding agents.
8. Click on “save” and then “publish.”